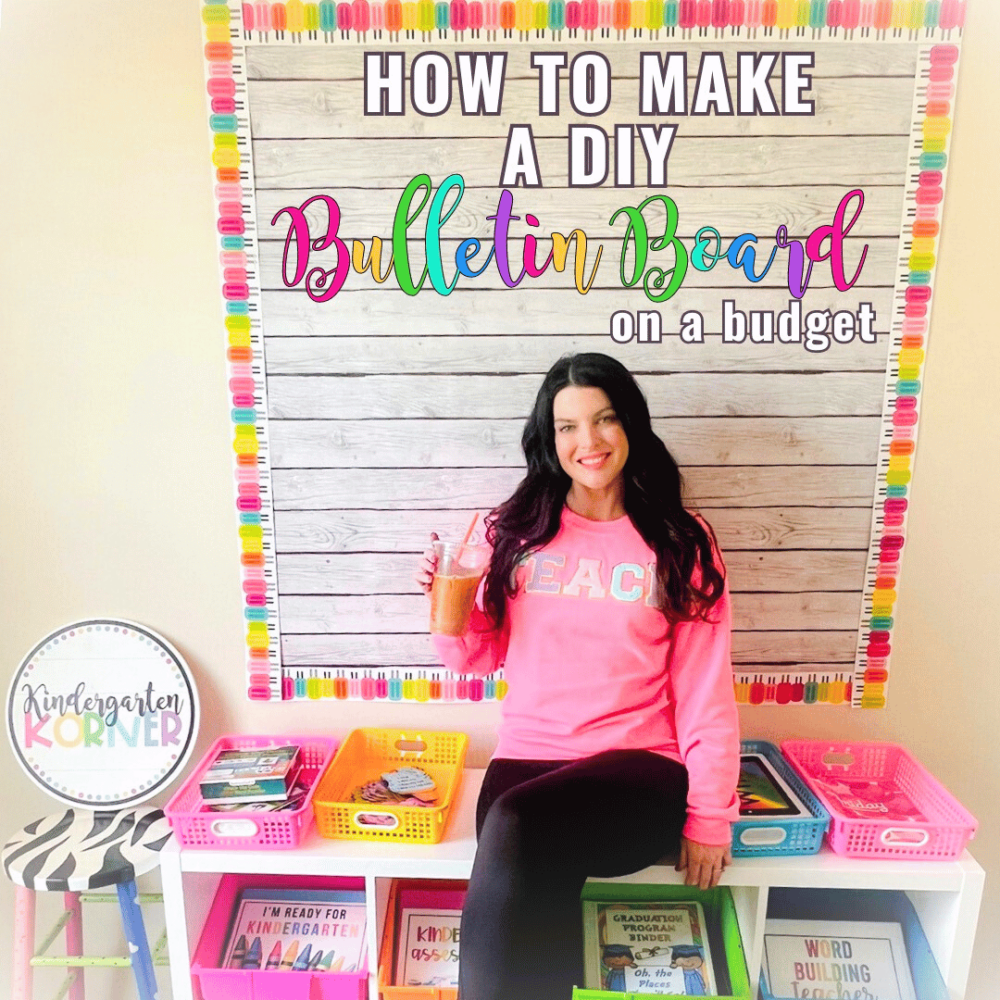
I was shopping for a bulletin board for my home office, but they were out of my price range. So I decided to take on a DIY project. In this post, I’ll share how to make a bulletin board on a budget for your classroom, home office, or homeschool room.
This post contains affiliate links. You can save 10 percent on your Really Good Stuff purchase with code KORNER10.
How to Make a Bulletin Board
You can easily create your own bulletin board in just two easy steps…
Step 1: Use Better Than Paper
Have you heard of Better Than Paper from Really Good Stuff?
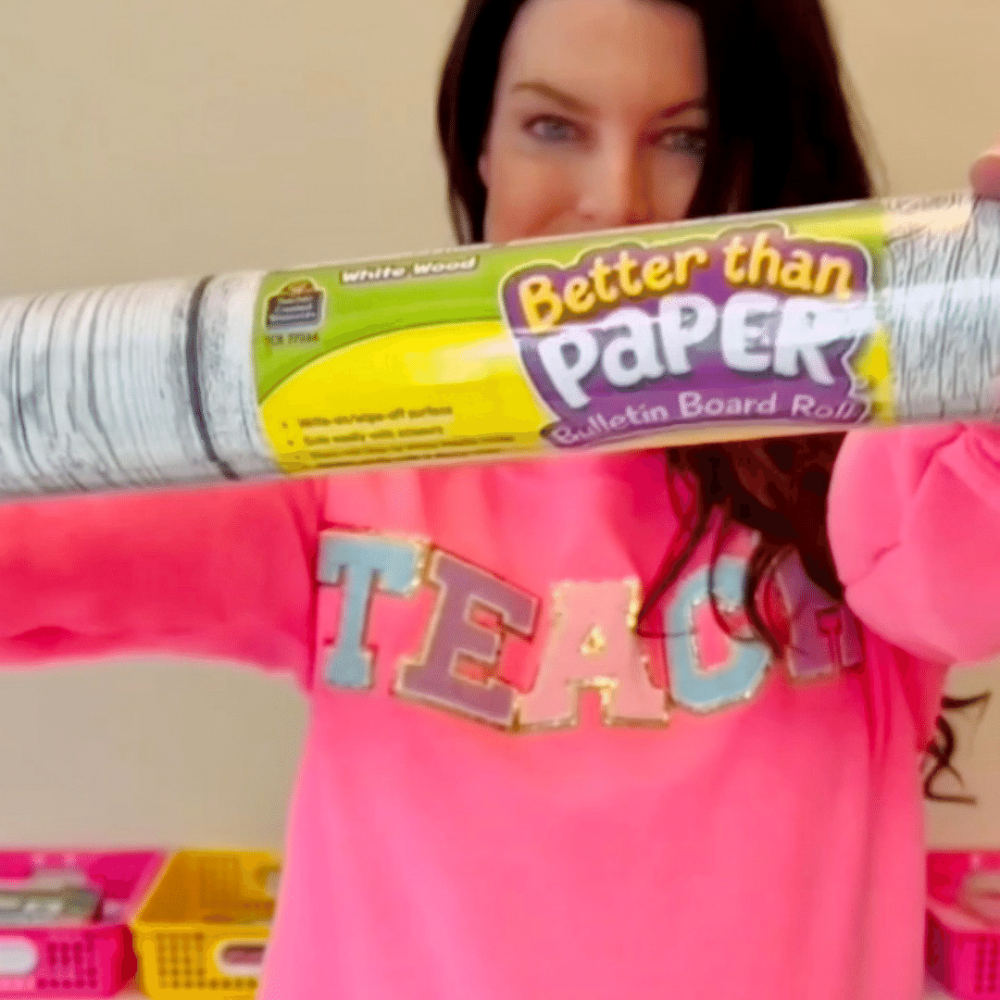
Better Than Paper is a game-changer for teachers. It’s like bulletin board paper only ten times better. The material is thick and durable. It doesn’t bend or wrinkle like fadeless paper, and it lasts! You can even use dry erase markers on it, and it wipes right off. Where has this been all my teacher life that I was spending a fortune covering my boards in fabric?!
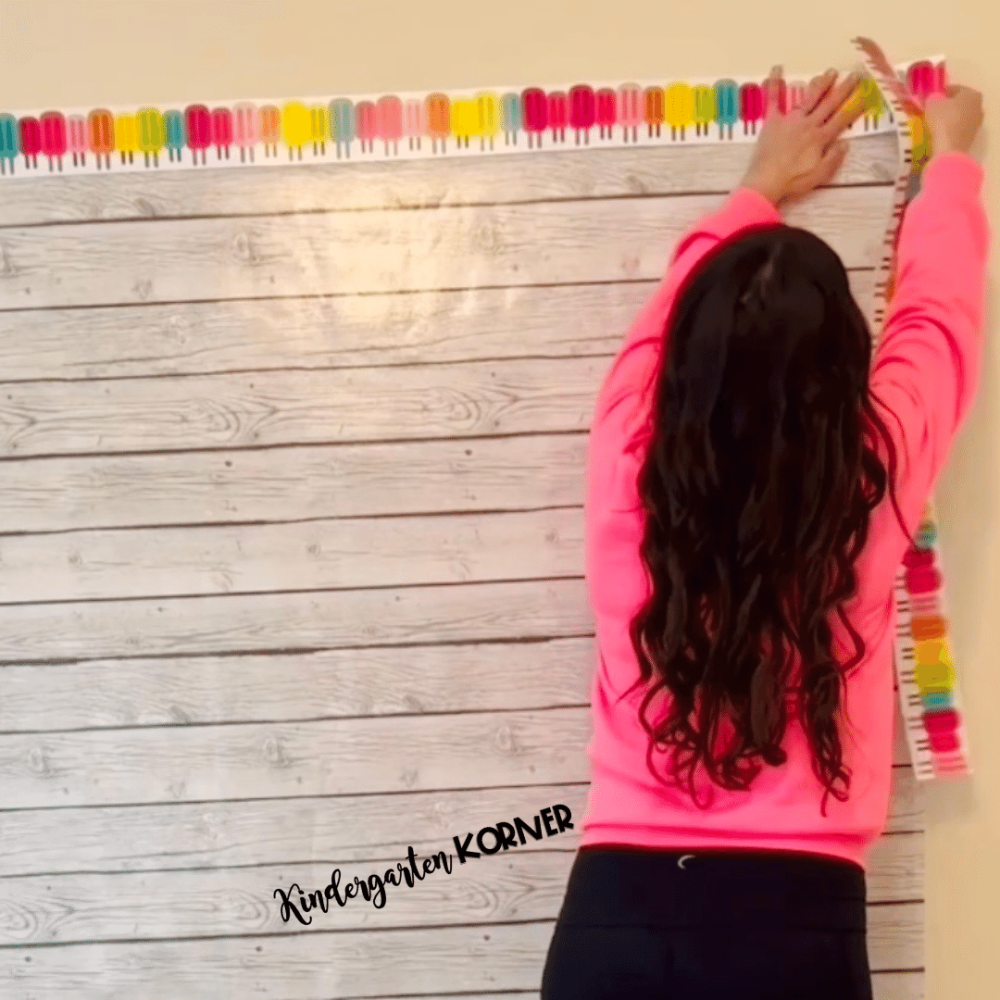
Simply measure your space, cut, and tape it to the wall.
Step 2: Add your borders.
Once you have your paper in place, you can frame it with any border of your choice. This board is in my home office where I design my teaching resources. I’m also using it for summer tutoring, so I decided to go with these fun Popsicles Borders by Schoolgirl Style from Really Good Stuff.
I absolutely love how the board turned out.
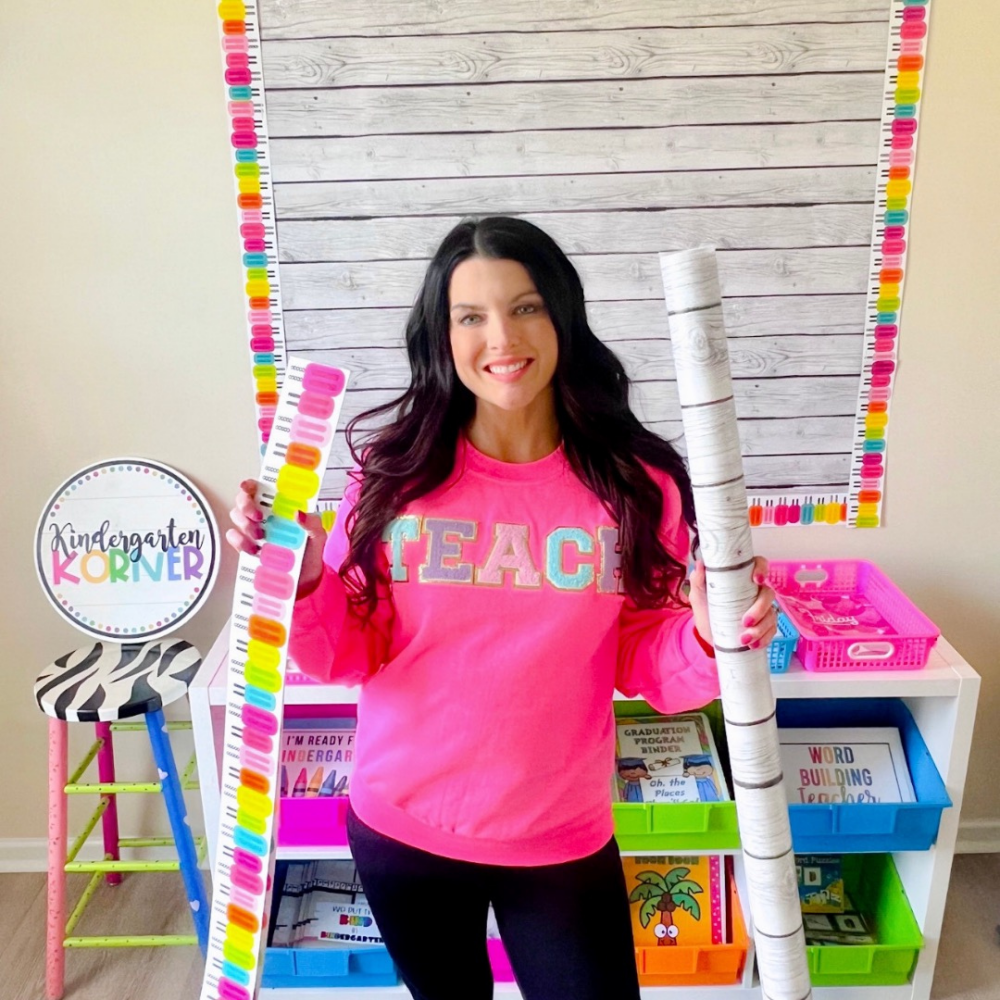
Really Good Stuff Organization
Below the bulletin board I have my organizer filled with Picture Books Bins.and Neon Baskets on top. These bins and baskets hold all my teaching resources I have created along with my summer tutoring materials.

You can read more about my favorite Really Good Stuff Organization Pieces HERE.
I hope this post has inspired you to create your own bulletin board in your teaching space. For more teacher tips, visit the blog.